Wheatgrass is a young shoot or freshly sprouted leaves of a common wheat ((Triticum aestivum) plant. Wheatgrass is gaining huge popularity nowadays and is believed to have numerous health benefits. Because of its popularity, its juice or powder is expensive. Thus, in this article, you will learn the step-by-step method of growing wheatgrass at home. If you are interested in knowing more about the nutritive and disease-fighting benefits of wheatgrass, you may click here.
Getting the Right Wheatberries
First and foremost, you should have wheat. If you have some at home, use it; otherwise, buy hard winter wheat berries.
Get 2-3 trays with holes and another tray without holes. Usually we use 10 by 10-inch trays, but depending upon how much you want to grow, you can get bigger trays too.
source soil. You can use soil from your garden or farmland if you have it. Otherwise, you can buy organic potting mix from your nearest store or online.
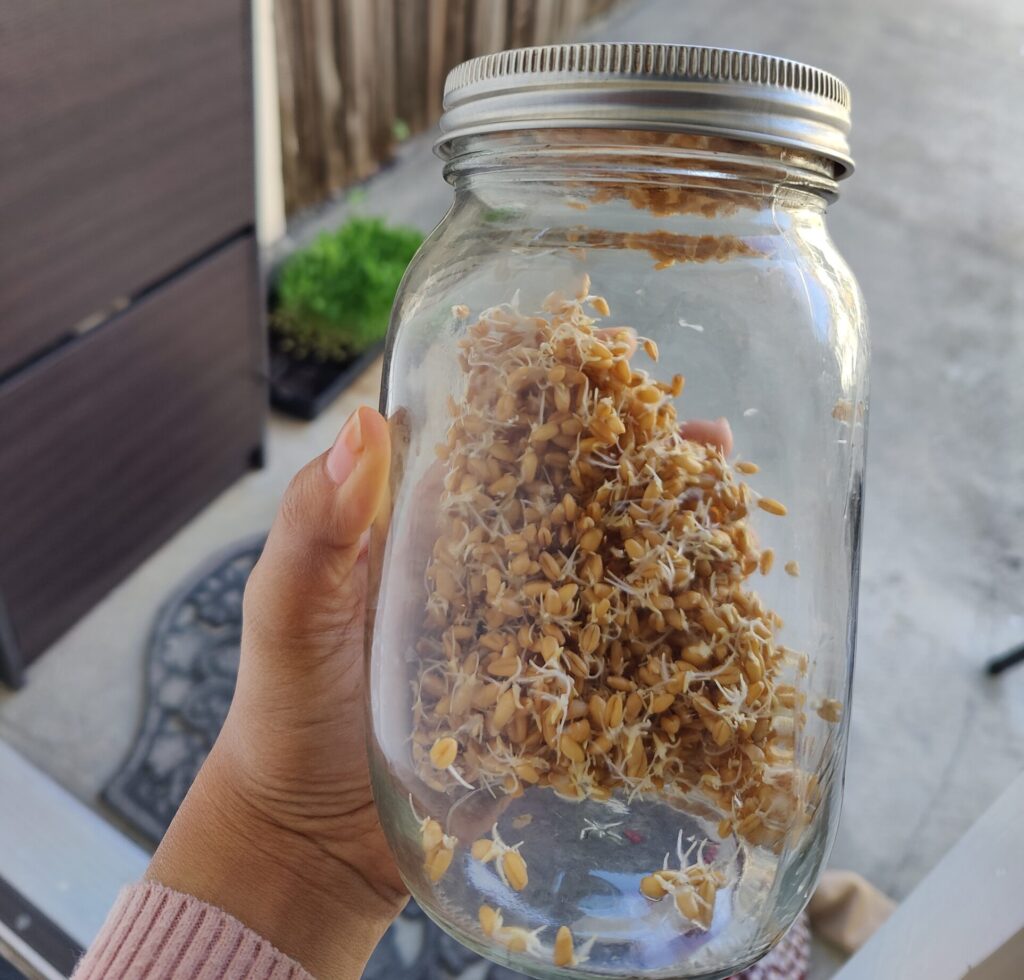
Get a glass jar or steel jar with a perforated lid.
The Best Temperature to Grow
The best temperature for proper germination of wheatgrass is 15 degrees Celsius to 25 degrees Celsius. However, once it sprouts and grows ¼ inch to ½ inch longer, it can tolerate colder or hotter temperatures too. Make sure any covered wheatgrass trays have enough ventilation if the temperature is above 27 degrees Celsius to avoid mold or fungi from growing.
Step One: Soaking (Day 1 Morning)
After everything is ready, soak the wheatberries in normal temperature water in the glass jar. Start with 1/3 cup of wheatberries. After 8-9 hours of soaking, drain the water and place the glass jar at a 45-degree angle with the surface. This is important because it gives the wheatberries enough air circulation while also draining excess water. This way, wheatberries easily sprout.
Day 1 Evening
After 11–12 hours, rinse the berries in the jar, drain right away, and again place them in a similar way as before.
Day 2 Morning
After 11–12 hours, rinse again and repeat the process.
Day 2 Evening
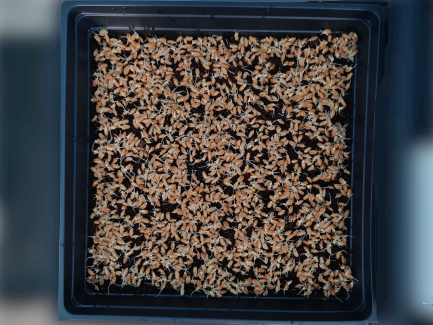
Rinse again and repeat the process. By the end of day 2, wheatgrass has fully germinated and is ready to be put on the soil.
Day 3 Morning
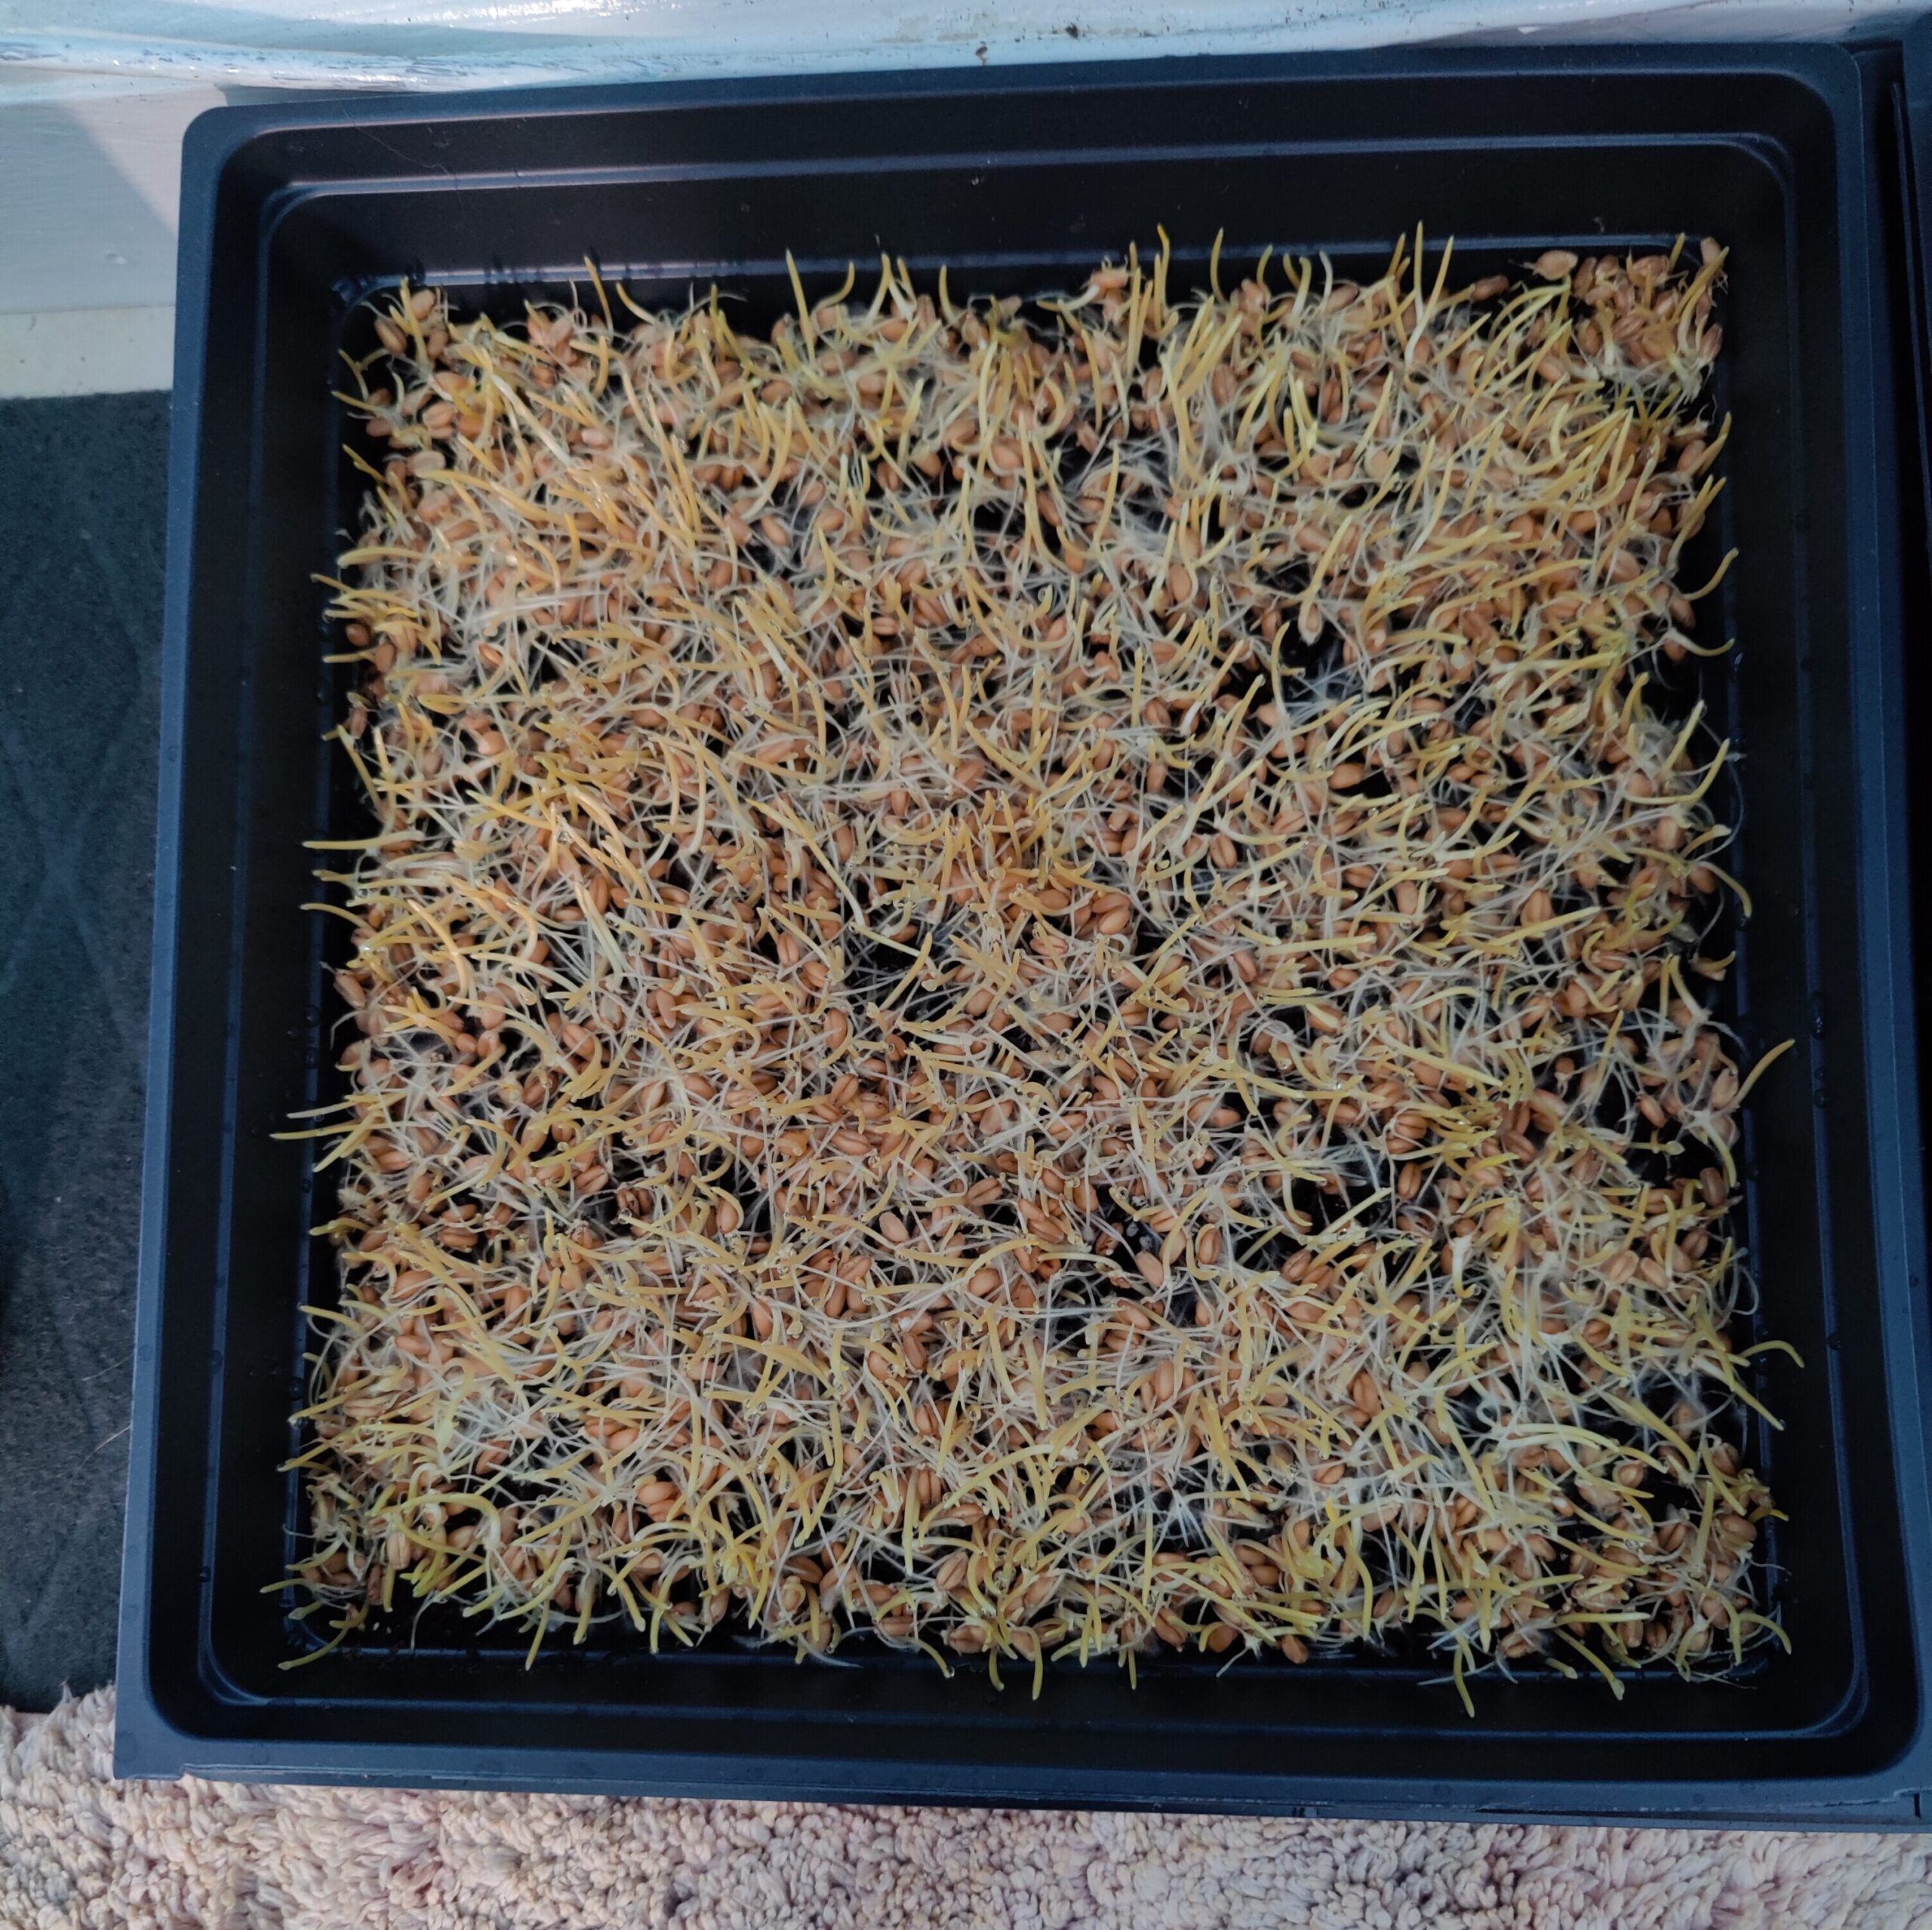
Now, prepare the soil. First, place the tray without holes in the bottom, and then place the perforated tray on top of that. Then add soil about 1/2 inch thick. After that, take an empty tray (if you have extra) and lightly press down. You can do this with your hands too, but make sure you press lightly and evenly. This creates an equal surface and removes excess air. Heavily mist with water. Then lightly brush the germinated seed over the soil. Do not press into the soil. After this, mist lightly and put it somewhere in the corner. For 2-3 days, cover it with another tray for the first 2-3 days. After that, you can remove the cover tray. Make sure you place the tray neither in direct sunlight nor in a dark room. The room should have plenty of daylight but never direct sunlight.
Next 6-7 days
Mist with water twice a day for the next 6-7 days. Spray bottles are extremely handy for misting.
Harvest
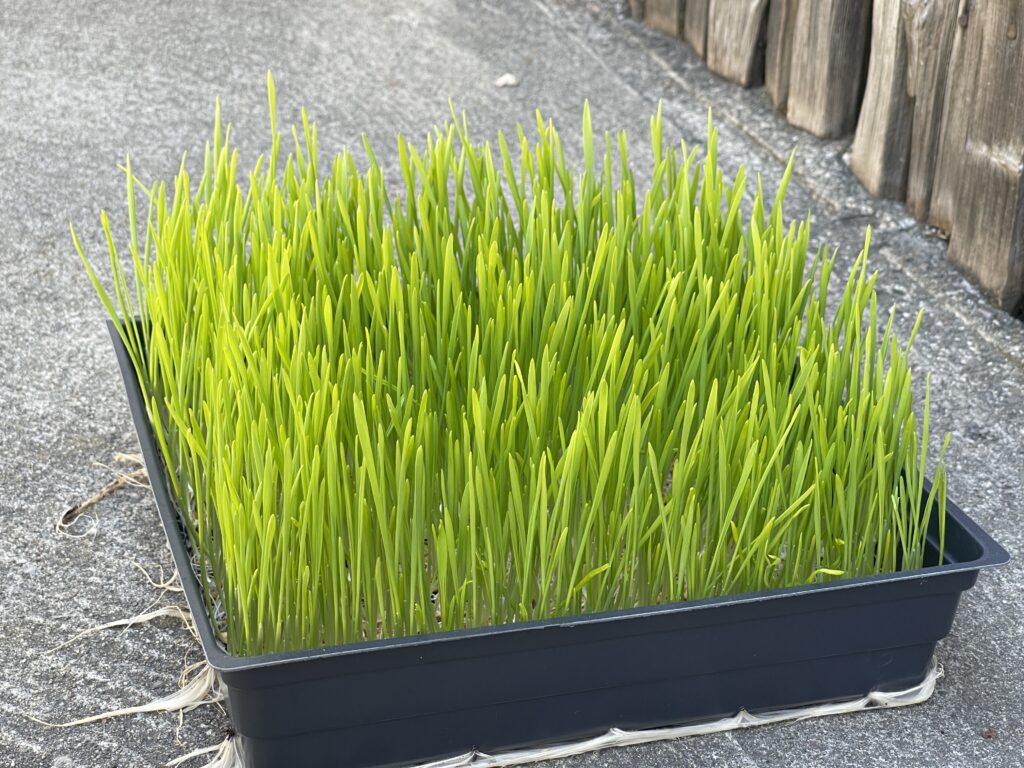
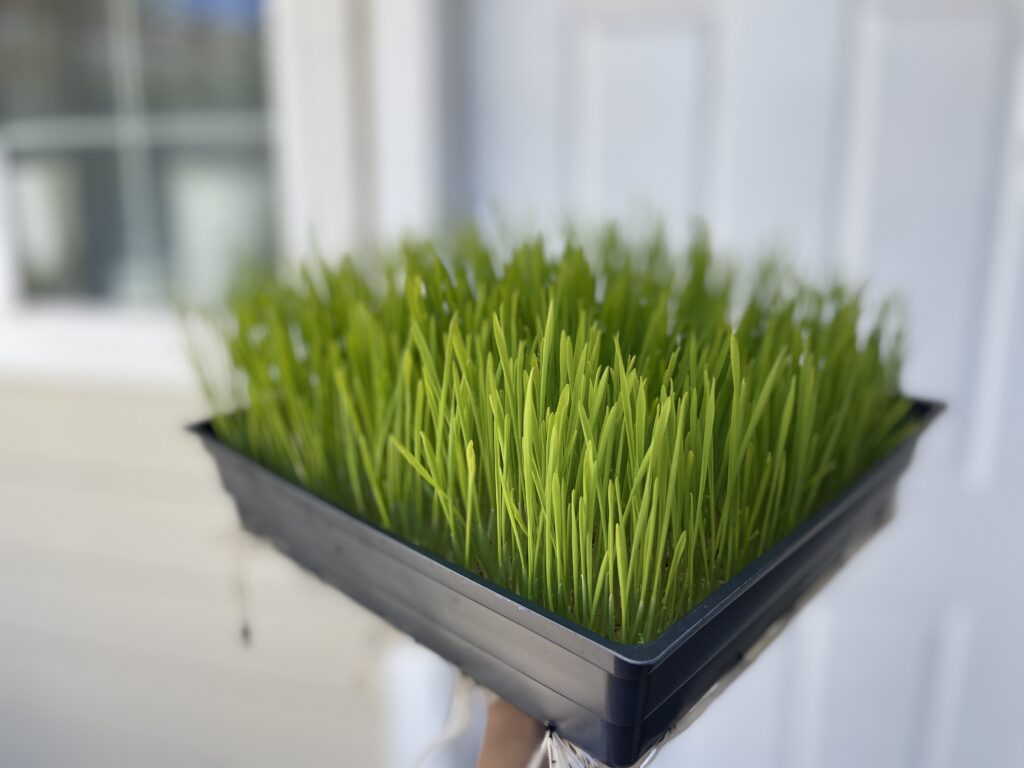
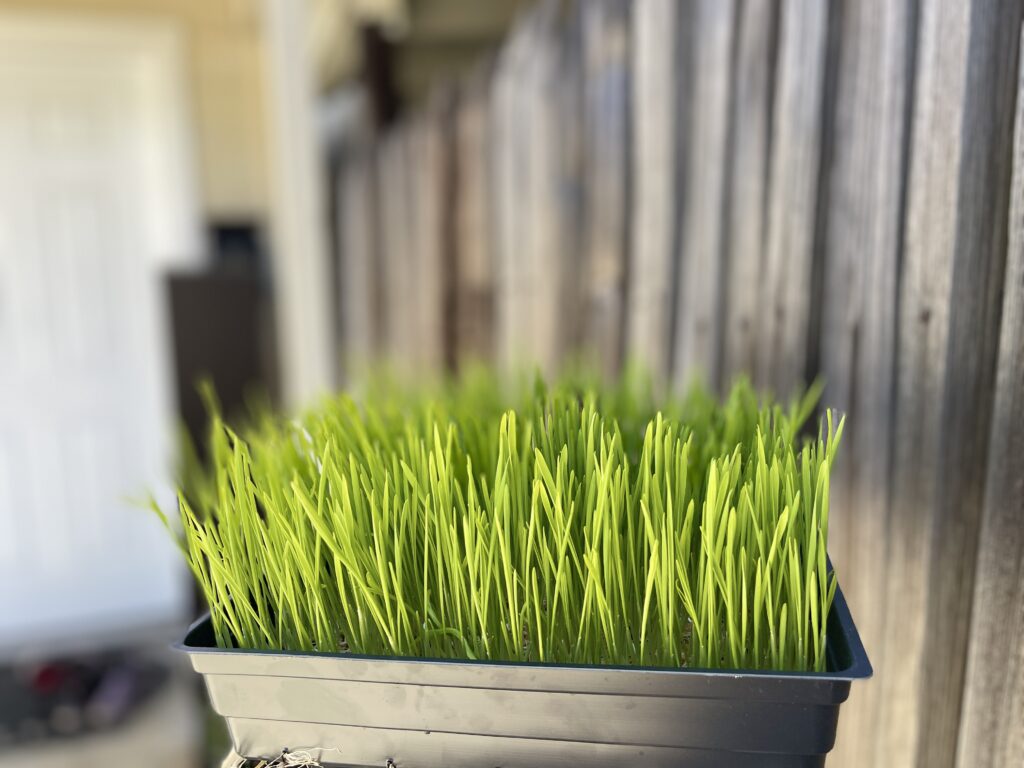
This is the exciting stage. Your wheatgrass is ready to be harvested when it’s 6-7 days old. Harvest at the jointing stage. The jointing stage for wheatgrass is when it splits at the base of the plant. Usually, this happens when it is 7-8 inches tall. However, you can harvest it while it is only 6″ tall! Use scissors or a knife to cut in clumps just above the soil line. Juice it and take a shot!
Storage
It can also be stored in the refrigerator for up to five days. However, make sure the wheatgrass is dry. Dry wheatgrass keeps much better than wet. It’s better to keep it in a clean cotton bag to absorb excess humidity.
Caution
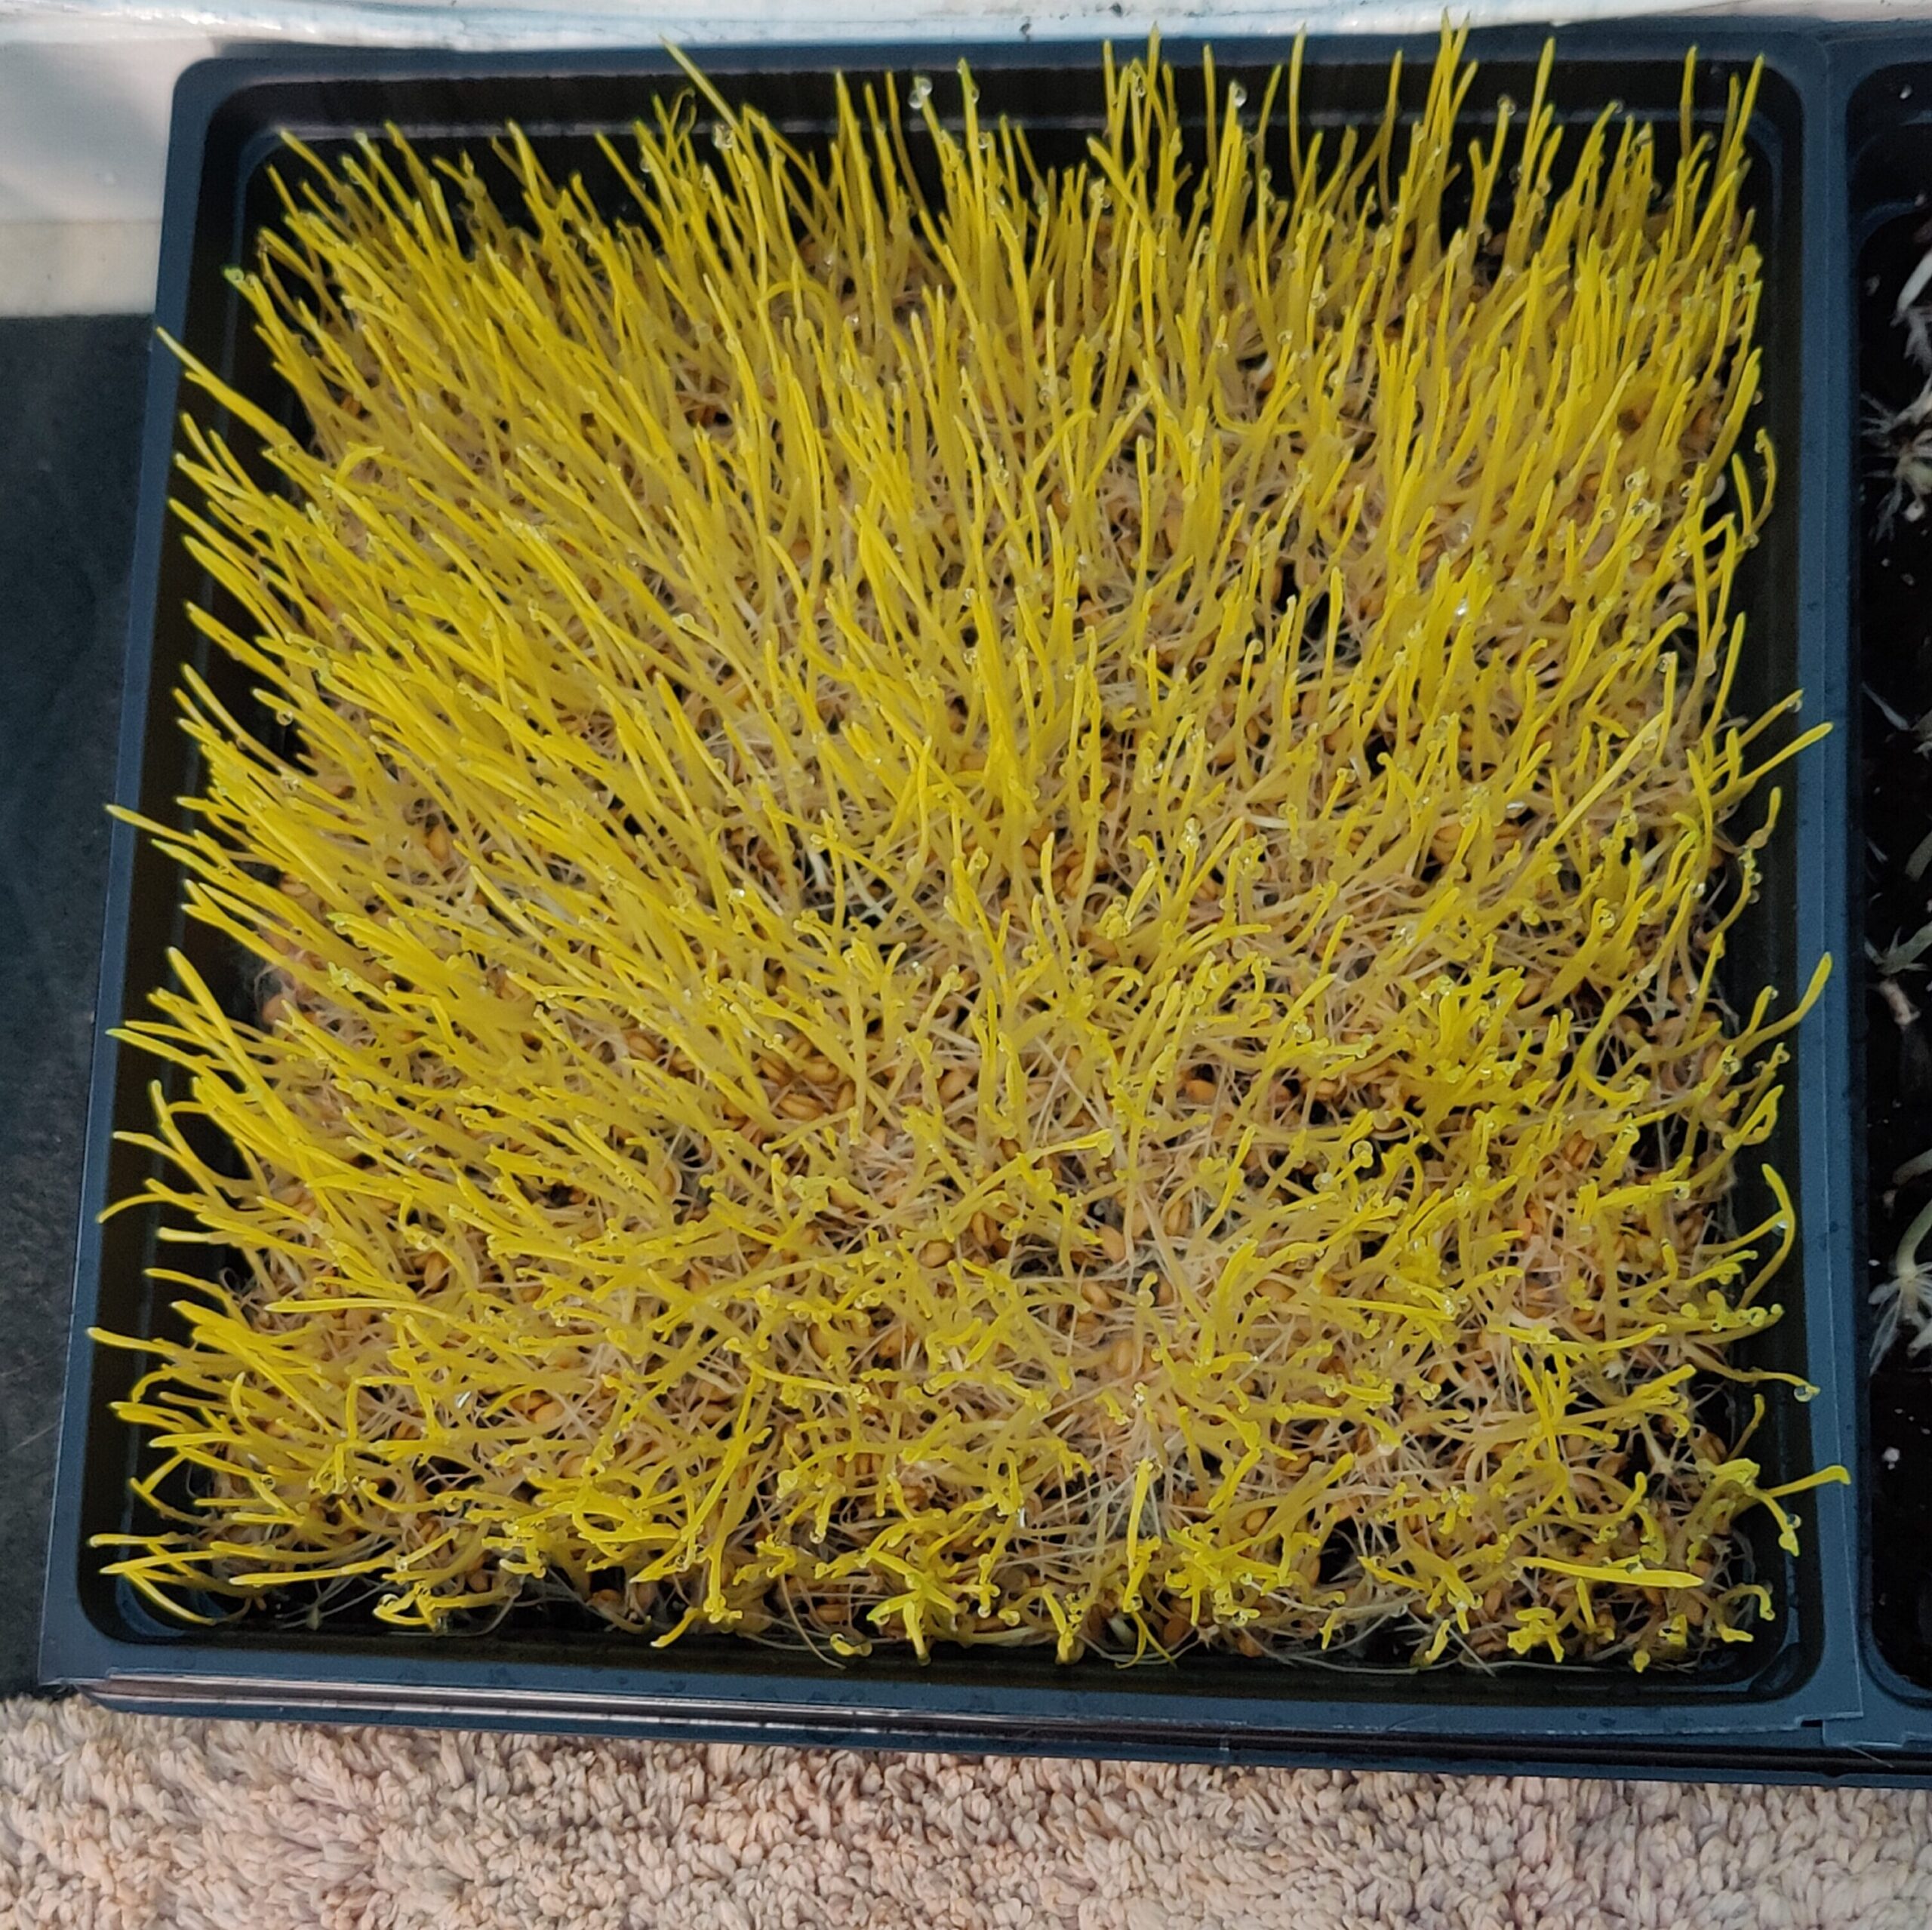
Add enough water. Underwatering causes yellow wheatgrass. Yellow wheatgrass can also be caused by poor light. Wheatgrass turns yellow and it can be weak and floppy. They’ll start to droop a bit if you’re underwatering. It also causes uneven growth. To avoid the problem of overwatering, we need to use a tray on the bottom, as mentioned above, so that the excess water is drained.